In this article, we will briefly show how to use the Update Custom Value action in Workflows to update a custom value.
Step 1: Start a new workflow or edit an existing one
Step 2: Set up applicable Workflow Trigger(s). We have multiple articles available to explain the setup of each of the Workflow Triggers. Feel free to review our articles for more information on setting these up.
Pro Tip: You can use any Workflow Triggers to trigger the Update Custom Value action or you leave this workflow without any triggers.
Step 3: Setting up the Update Custom Value Action
- Click on the “+” symbol below the trigger to add an action.
- Under Actions, select Update Custom Value in the CRM section of the Actions Menu or use the search feature
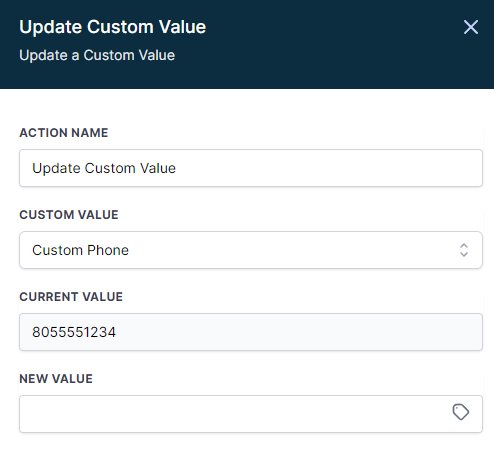
- Select the Custom Value you’d like to update from the drop-down menu, then the New Value you’d like to replace it with.
- Press
Step 4: Press Save in the top right corner of your browser to save the workflow
- If your Workflow is ready to be enabled, make sure the toggle switch under
- Be sure to test your Workflow to ensure it is set up correctly using the
- For an in-depth overview of Workflow Testing see our article, “Using the Testing Features in Workflows”

Now your Workflow is set up and ready to go with the Action Update Custom Value