Overview
Importing contacts into your Pro Platform account is a very easy process! Follow the steps or video below to learn how!
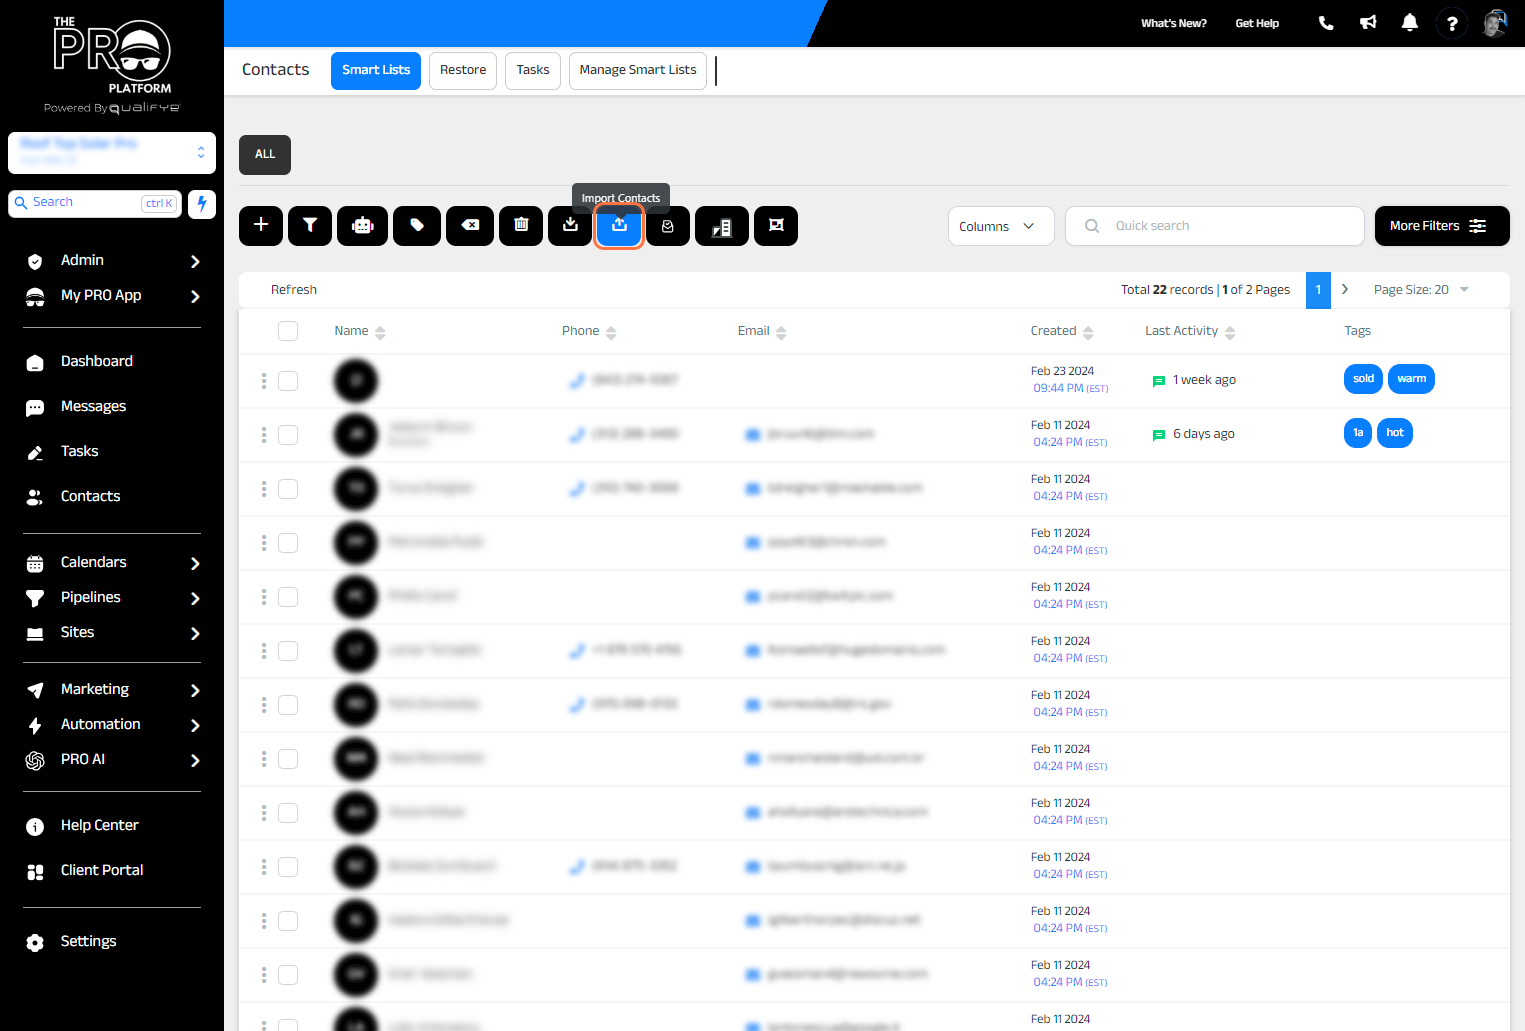
1. Start on the "Contacts" tab.

2. Click on "Import Contacts"
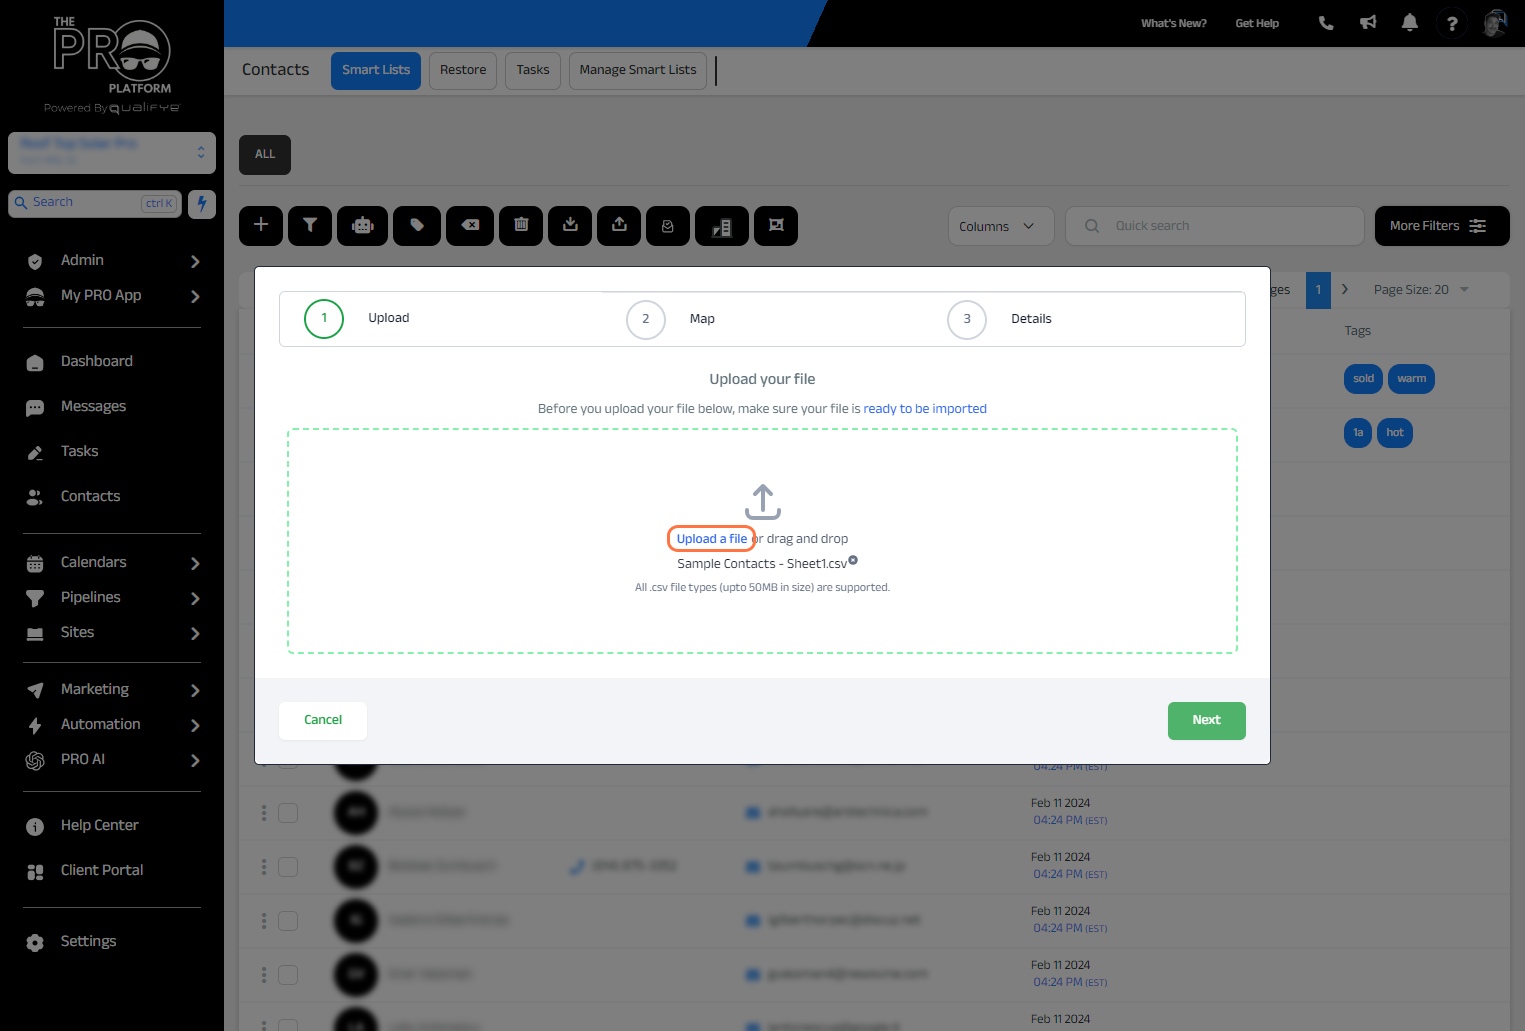
3. Import your list
Note: Your file must be a .CSV (comma-separated value) file. See steps below if you do not know what this is.
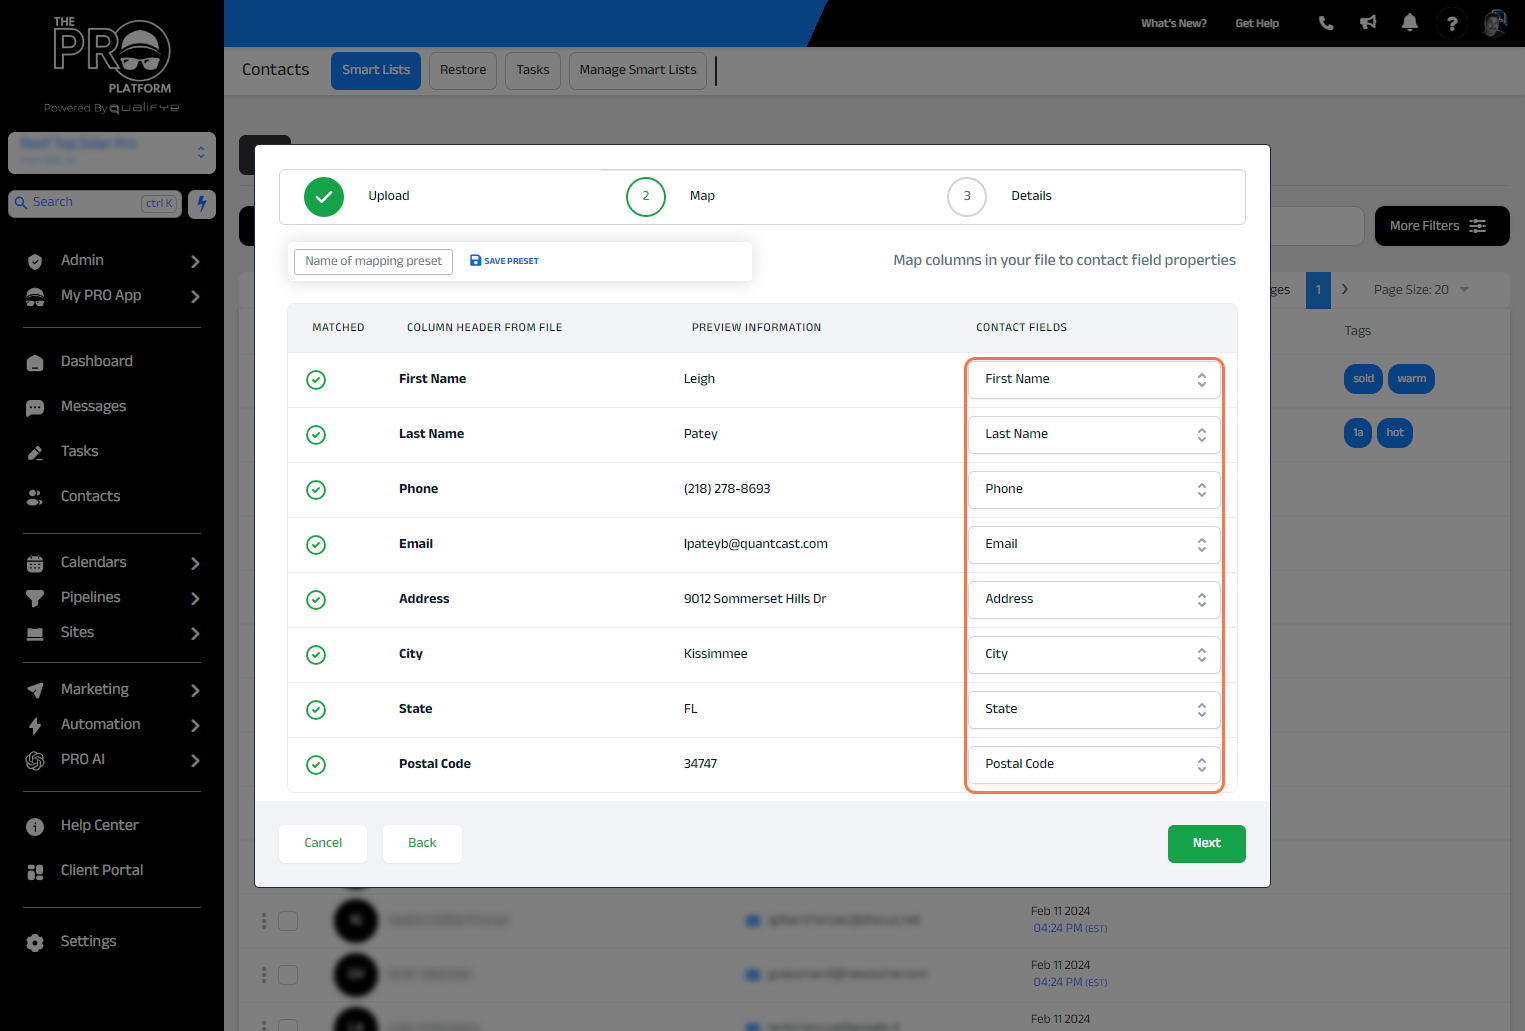
4. Map your contacts
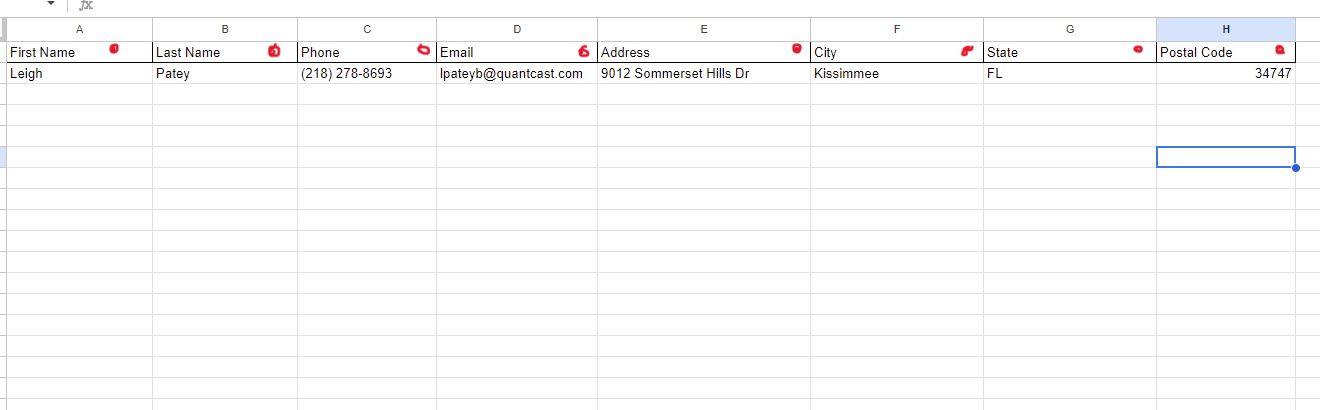
For basic headers, like in the picture below (First name, Last name, Phone, Email, Address, etc.. will already be mapped.)
5. Additional Options
The import name is simply for your reference. We always recommend selecting the option to "Add New and Update Existing Contact Records" This way if you have contacts with the same email or phone, it will merge those contacts automatically. You also have the option
Never use the option "Add new contacts to workflow" unless you know what you're doing. There is an easier way to do this for more visibility and control that you will learn in upcoming steps.
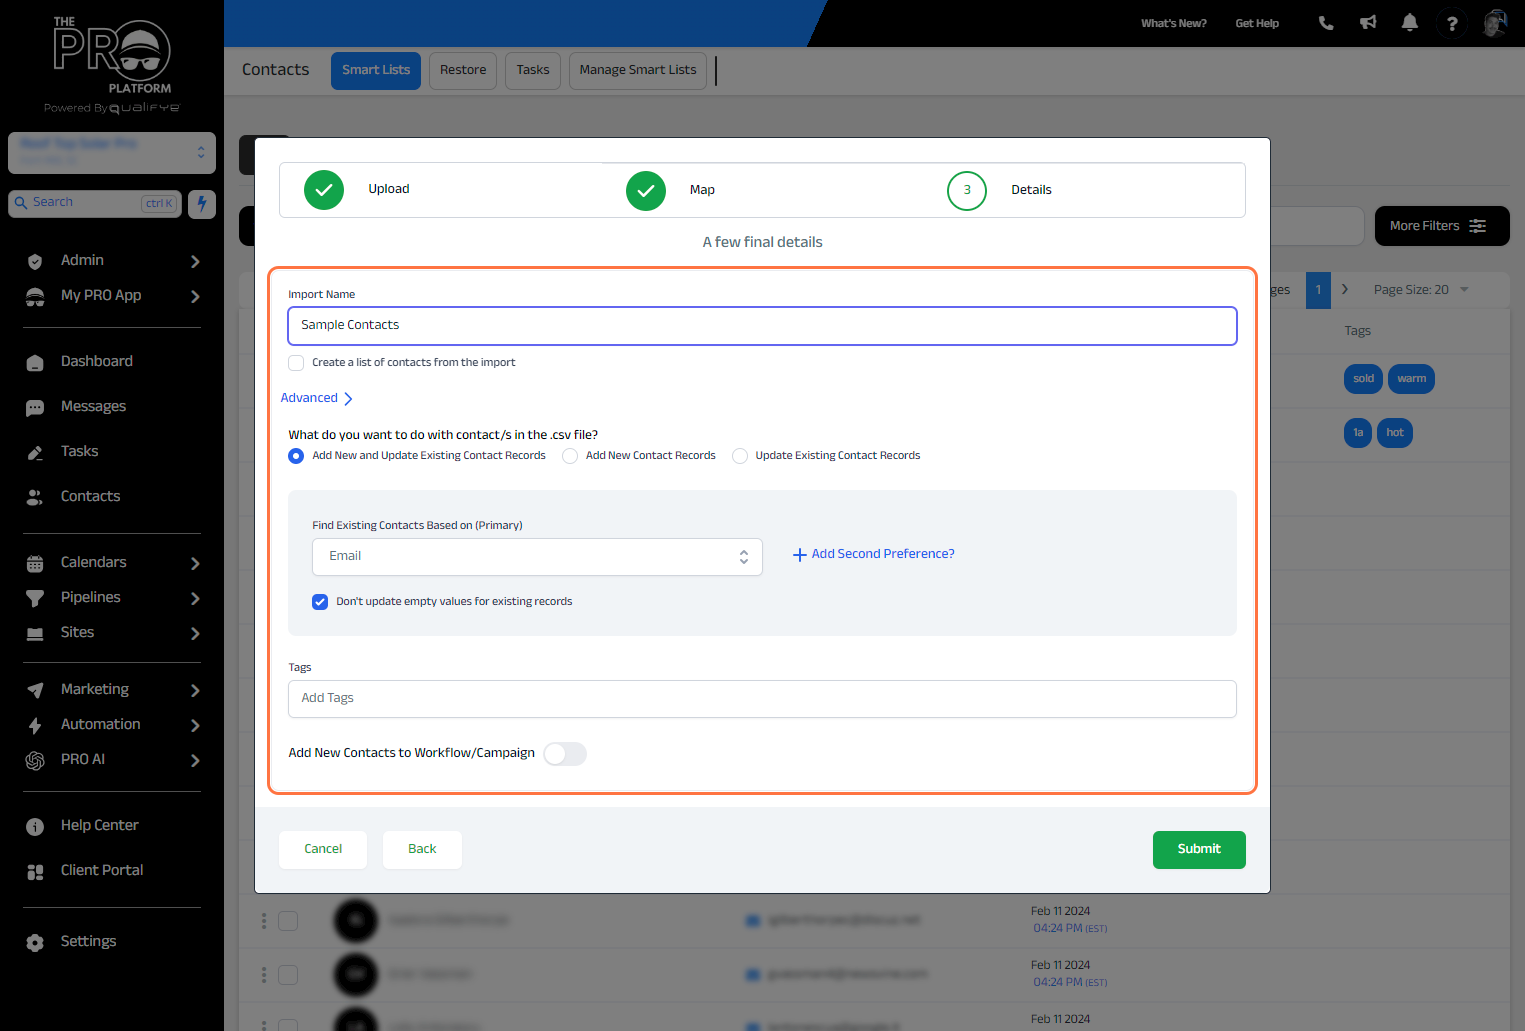
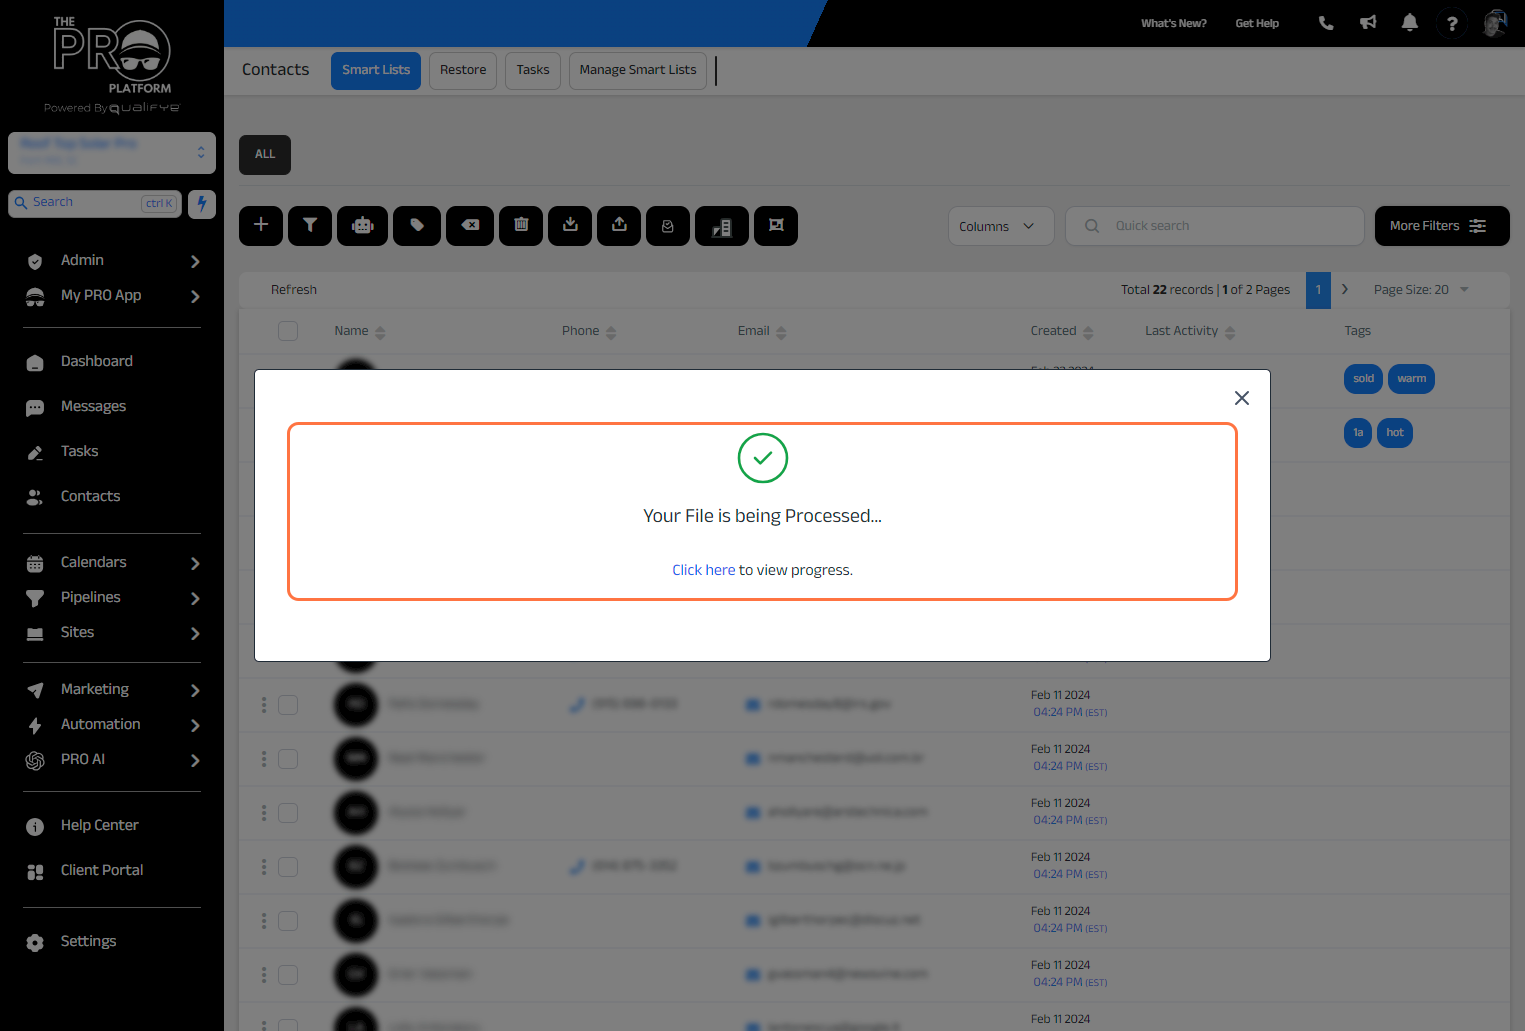
6. Click submit & finish!
💡Important Things to Note:
- Column Headers
- Your list must have column headers in order to properly map your data. For example: First Name, Last Name, Phone, Email, etc.
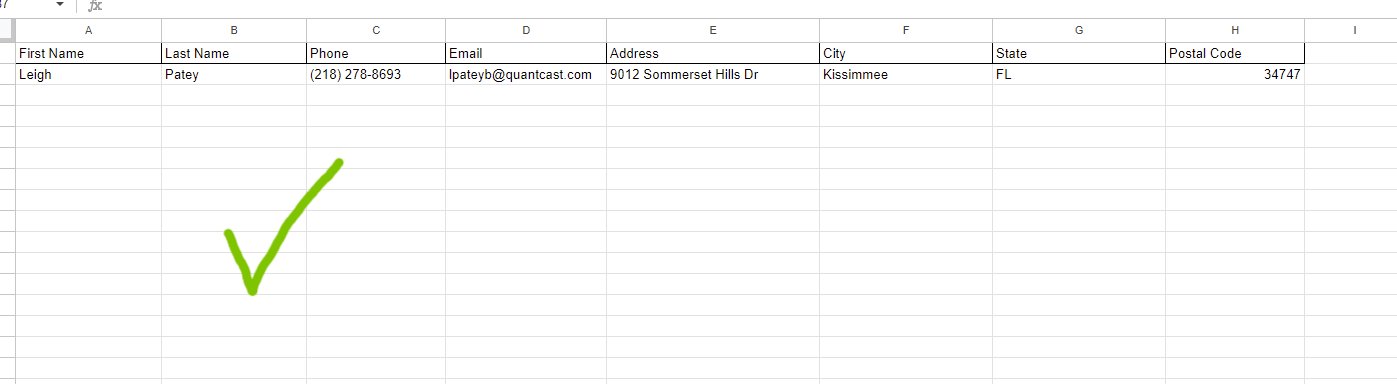
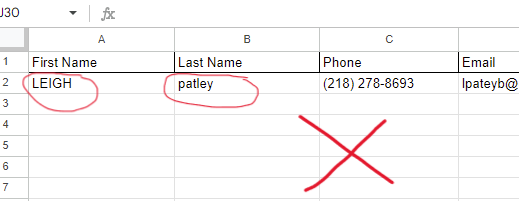
- Proper Formatting
- When you import contacts, it's crucial to ensure that names are correctly capitalized and street addresses are formatted properly. For example, if you upload a list with names in all caps (such as "JOHN DOE"), the system will record and use the name exactly as it appears. This means if you use an automation that includes a custom value like "{{contact.first_name}}", the message sent will also be in all caps (for example, "Hello JOHN, this is Mike with Solar Solutions"). To avoid this, please double-check that all information is formatted correctly before uploading. If you're unsure how to do this, please watch the instructional video at the top of this page.
- You also want to make sure that names are separated so that you can message contacts without using their full name each time.
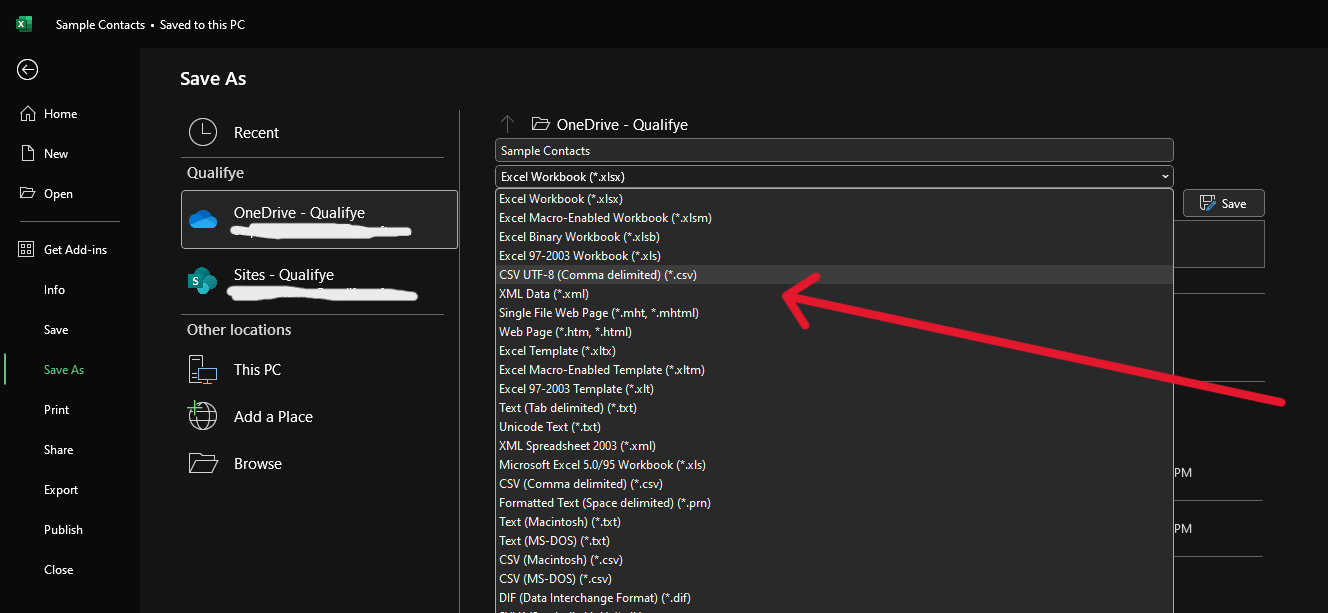
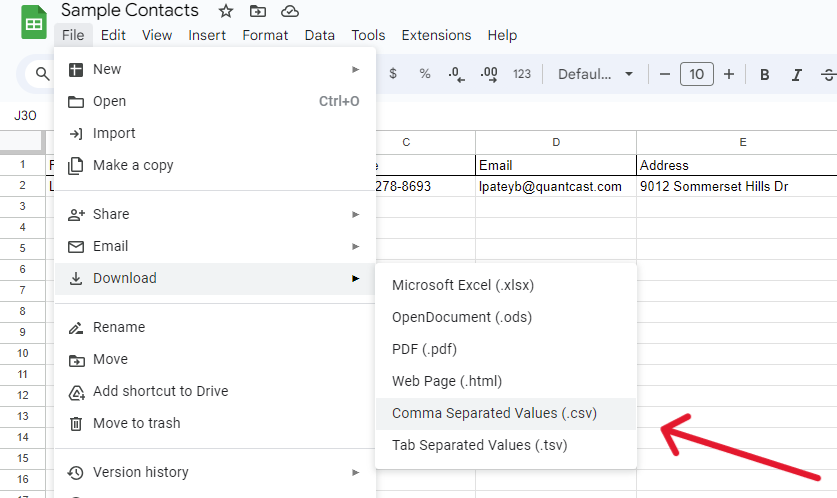
- CSV Format
- Our system will only except CSV files. To do this in Sheets go to "File" >> "Download" >> "csv"
- To do this in Excel go to "File" >> "Save as" >> "csv"